

When Slow Motion Projects set out to renovate the Green Education Center (see
our previous blog post for the full story) and create a whole new exhibition nearly from scratch, our ambitions were big and our budget was small. We wanted to create engaging and interactive content around environmental challenges and sustainable solutions in China, but we could not afford to buy ready-made sophisticated models and digital interfaces like you see in most modern museums.
In addition to building most things ourselves (ever put up plywood walls to create many small rooms inside a large one? Now we did!), upcycling old material (sofas made out of wooden pallets? Sure thing!) and benefiting from the generosity of GEC's partners (the biogas generator model was donated by Kunming Normal University), we had to find innovative solutions to get the effects we wanted without breaking the bank. This post illustrates, with two examples, how we got there.
Making a programmable high-voltage light array for under $50
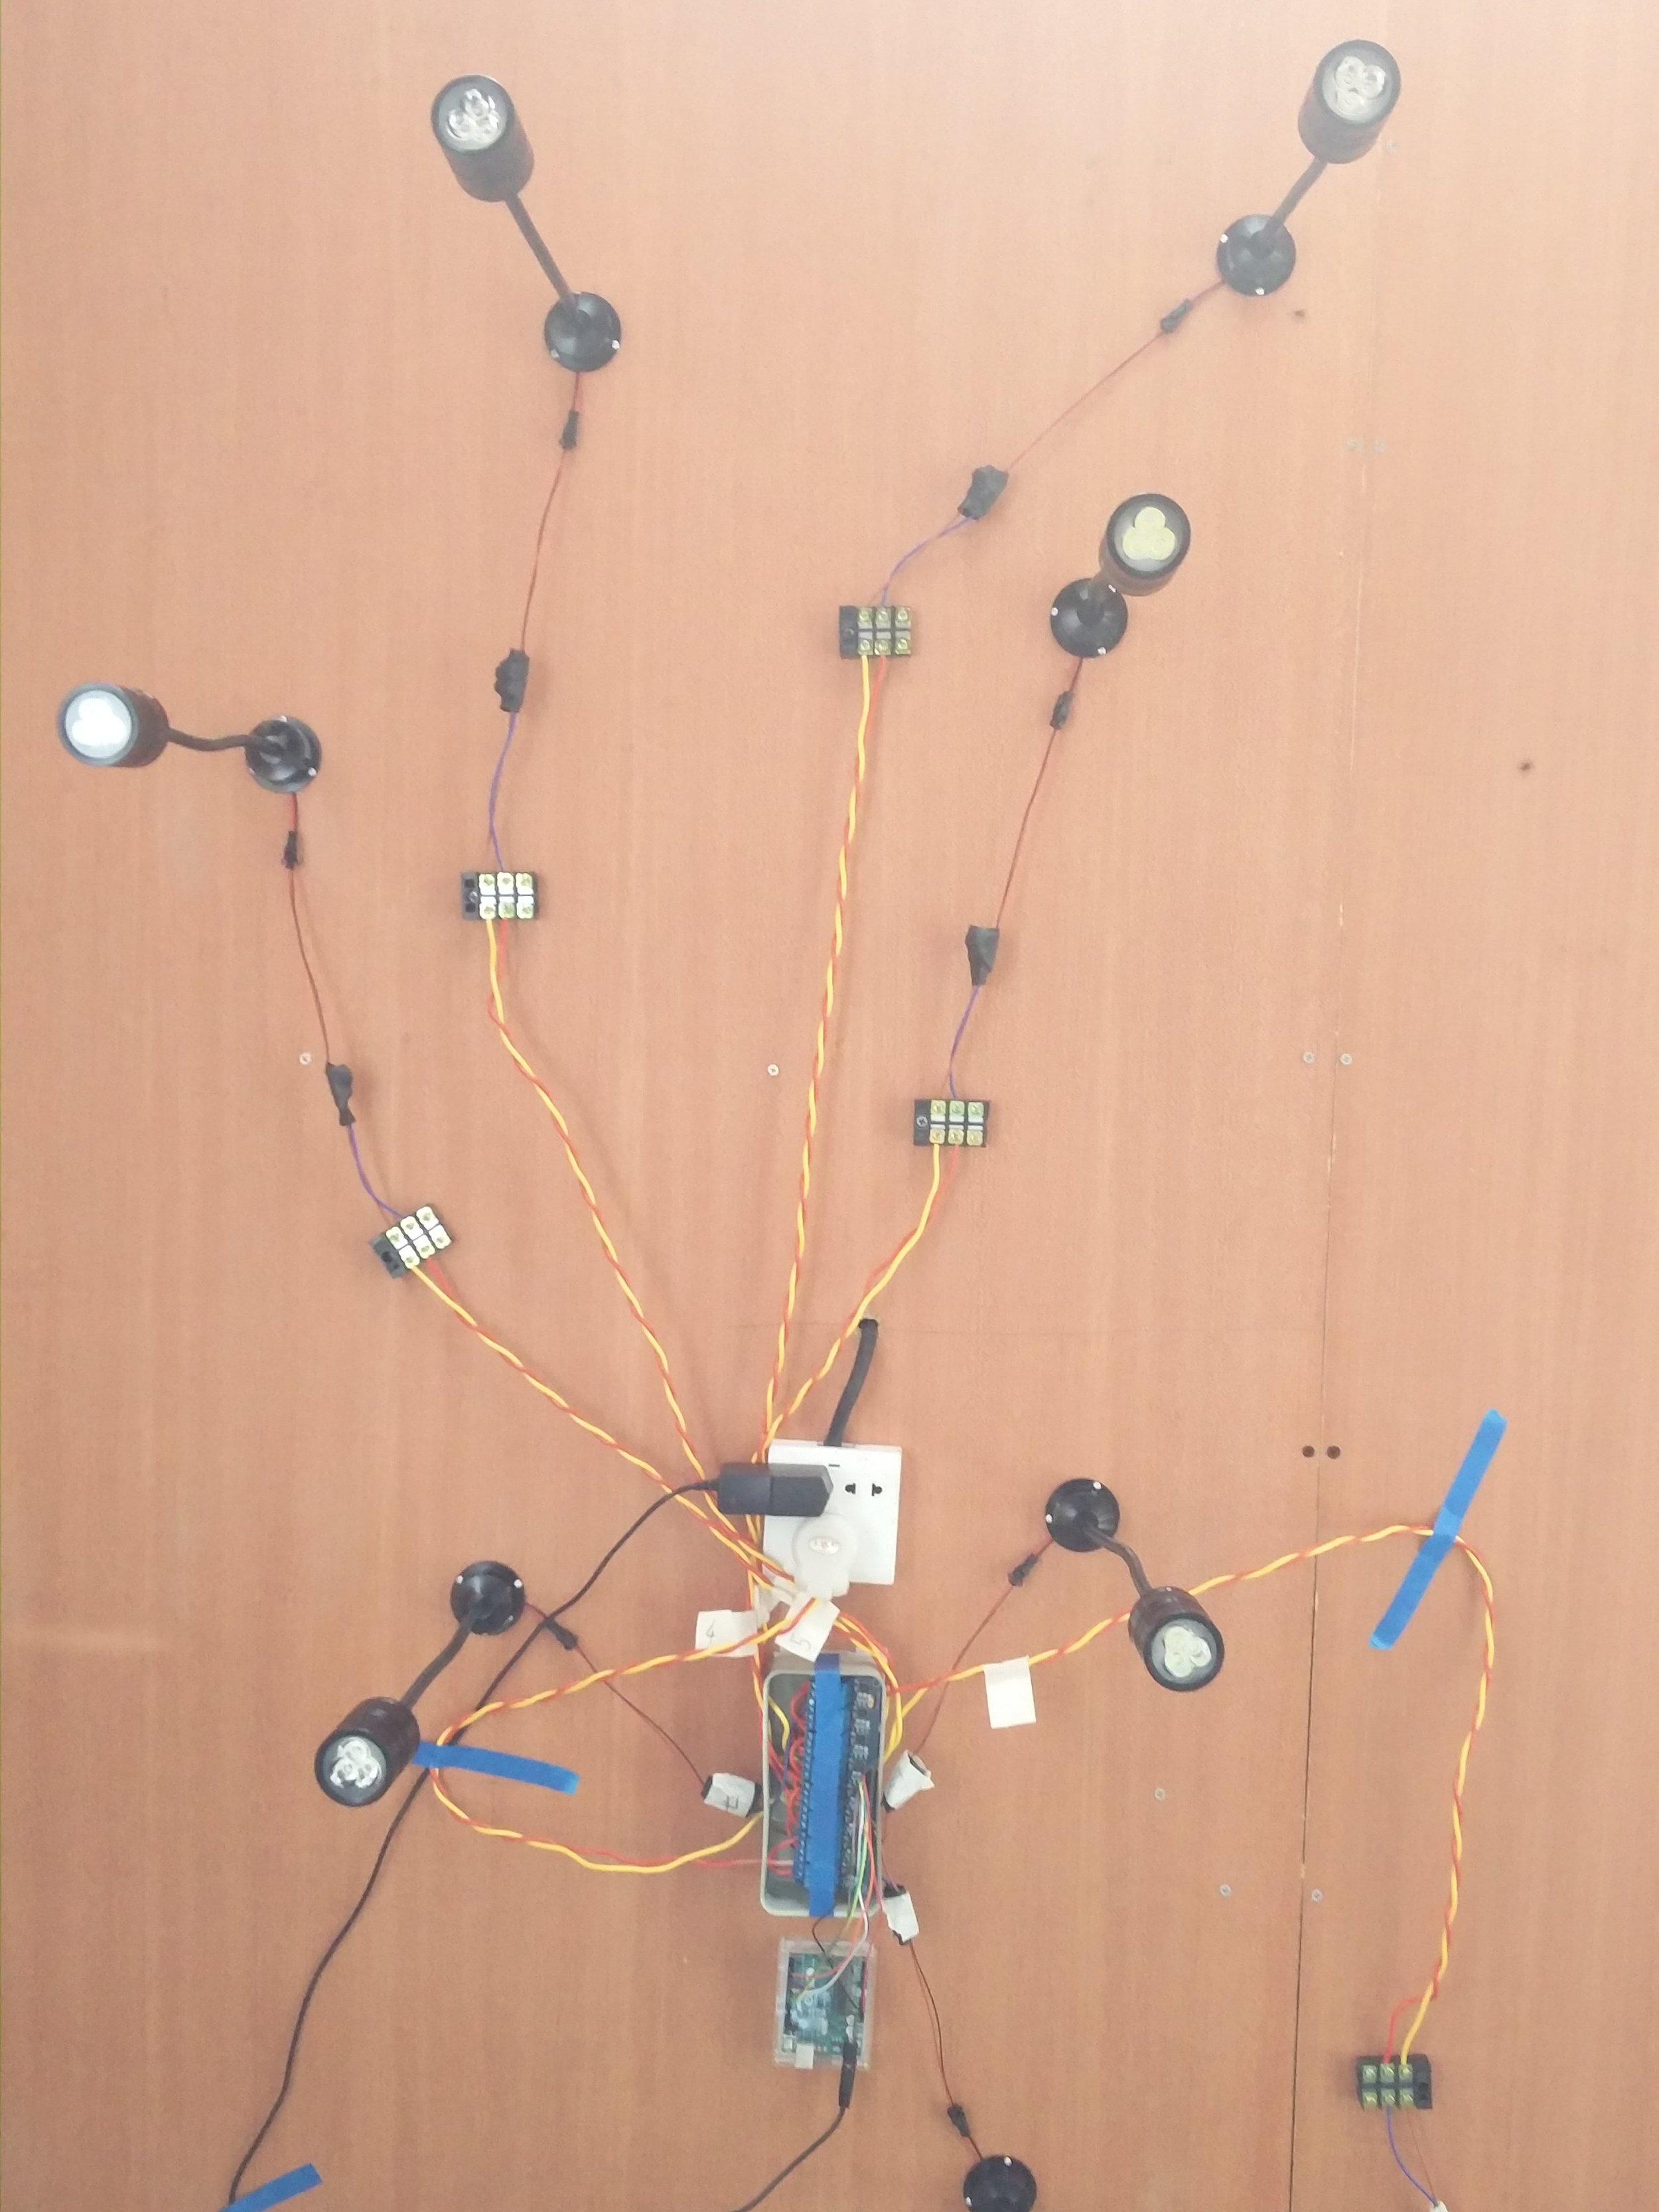
For the oppressive dark room, illustrating the impacts of environmental degradation on human health, we wanted a lighting system that would allow for the whole room to be pitch black, with photo frames lit one at a time, in a programmable fashion. A quick online search revealed there were very few programmable lighting circuits available for purchase (even in China!), and that their price would fetch in the high hundreds of USD (equivalent). Not an option for us.
We settled on building a simple Arduino-controlled relay board to toggle individual high-voltage LED lights on and off. To reinforce the immersion in the dark room, we wanted the sound environment to convey a sense of environmental urgency: we used a ticking mechanical clock, and electromagnetic relays emitting a satisfyingly loud click every time the light would switch from one frame to the next. Connecting 8 independent high-voltage lights in addition to the low-voltage circuit (controlled by the Arduino) meant that we had to do a lot of wiring, however we used a trick to minimise the number of wires: by connecting each COM terminal (moving part of the switch) of a relay to the NC (normally closed) terminal of the next relay, we created cascading circuits. The ground wire of each light was connected to the NO (normally open) terminal of the corresponding light, so that only one light could be lit at once. The pictures below illustrate the assembly process.
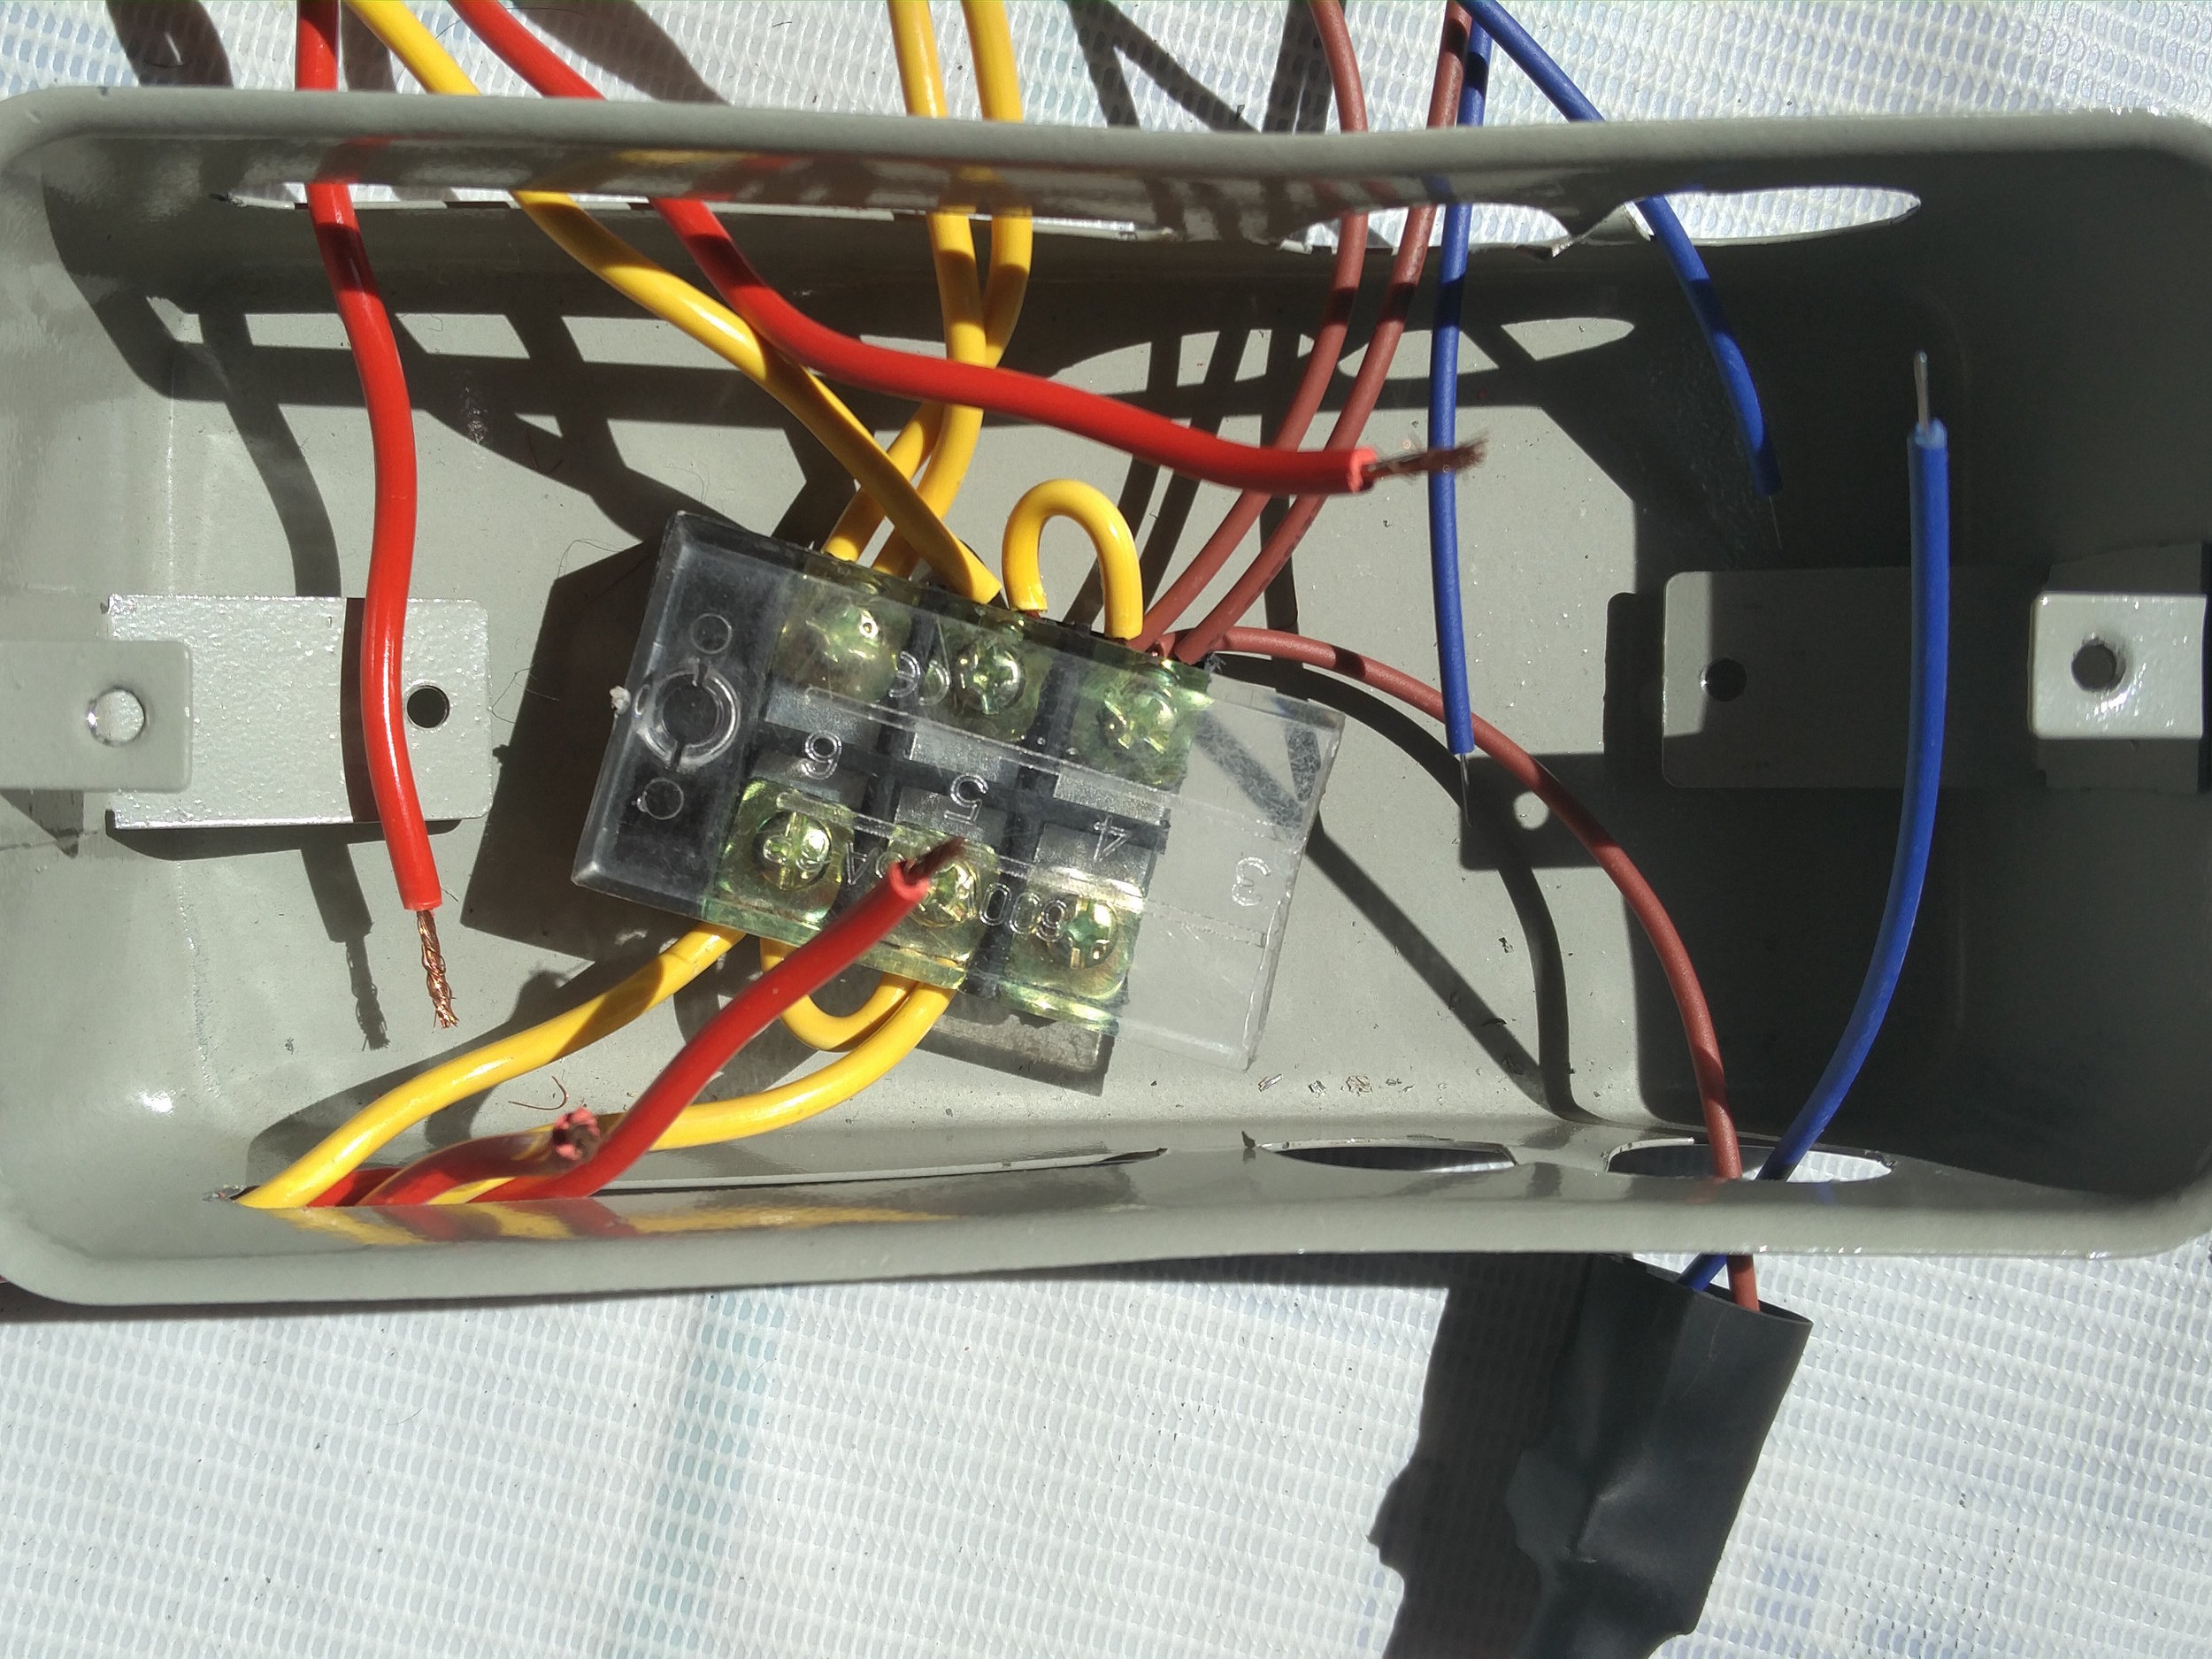
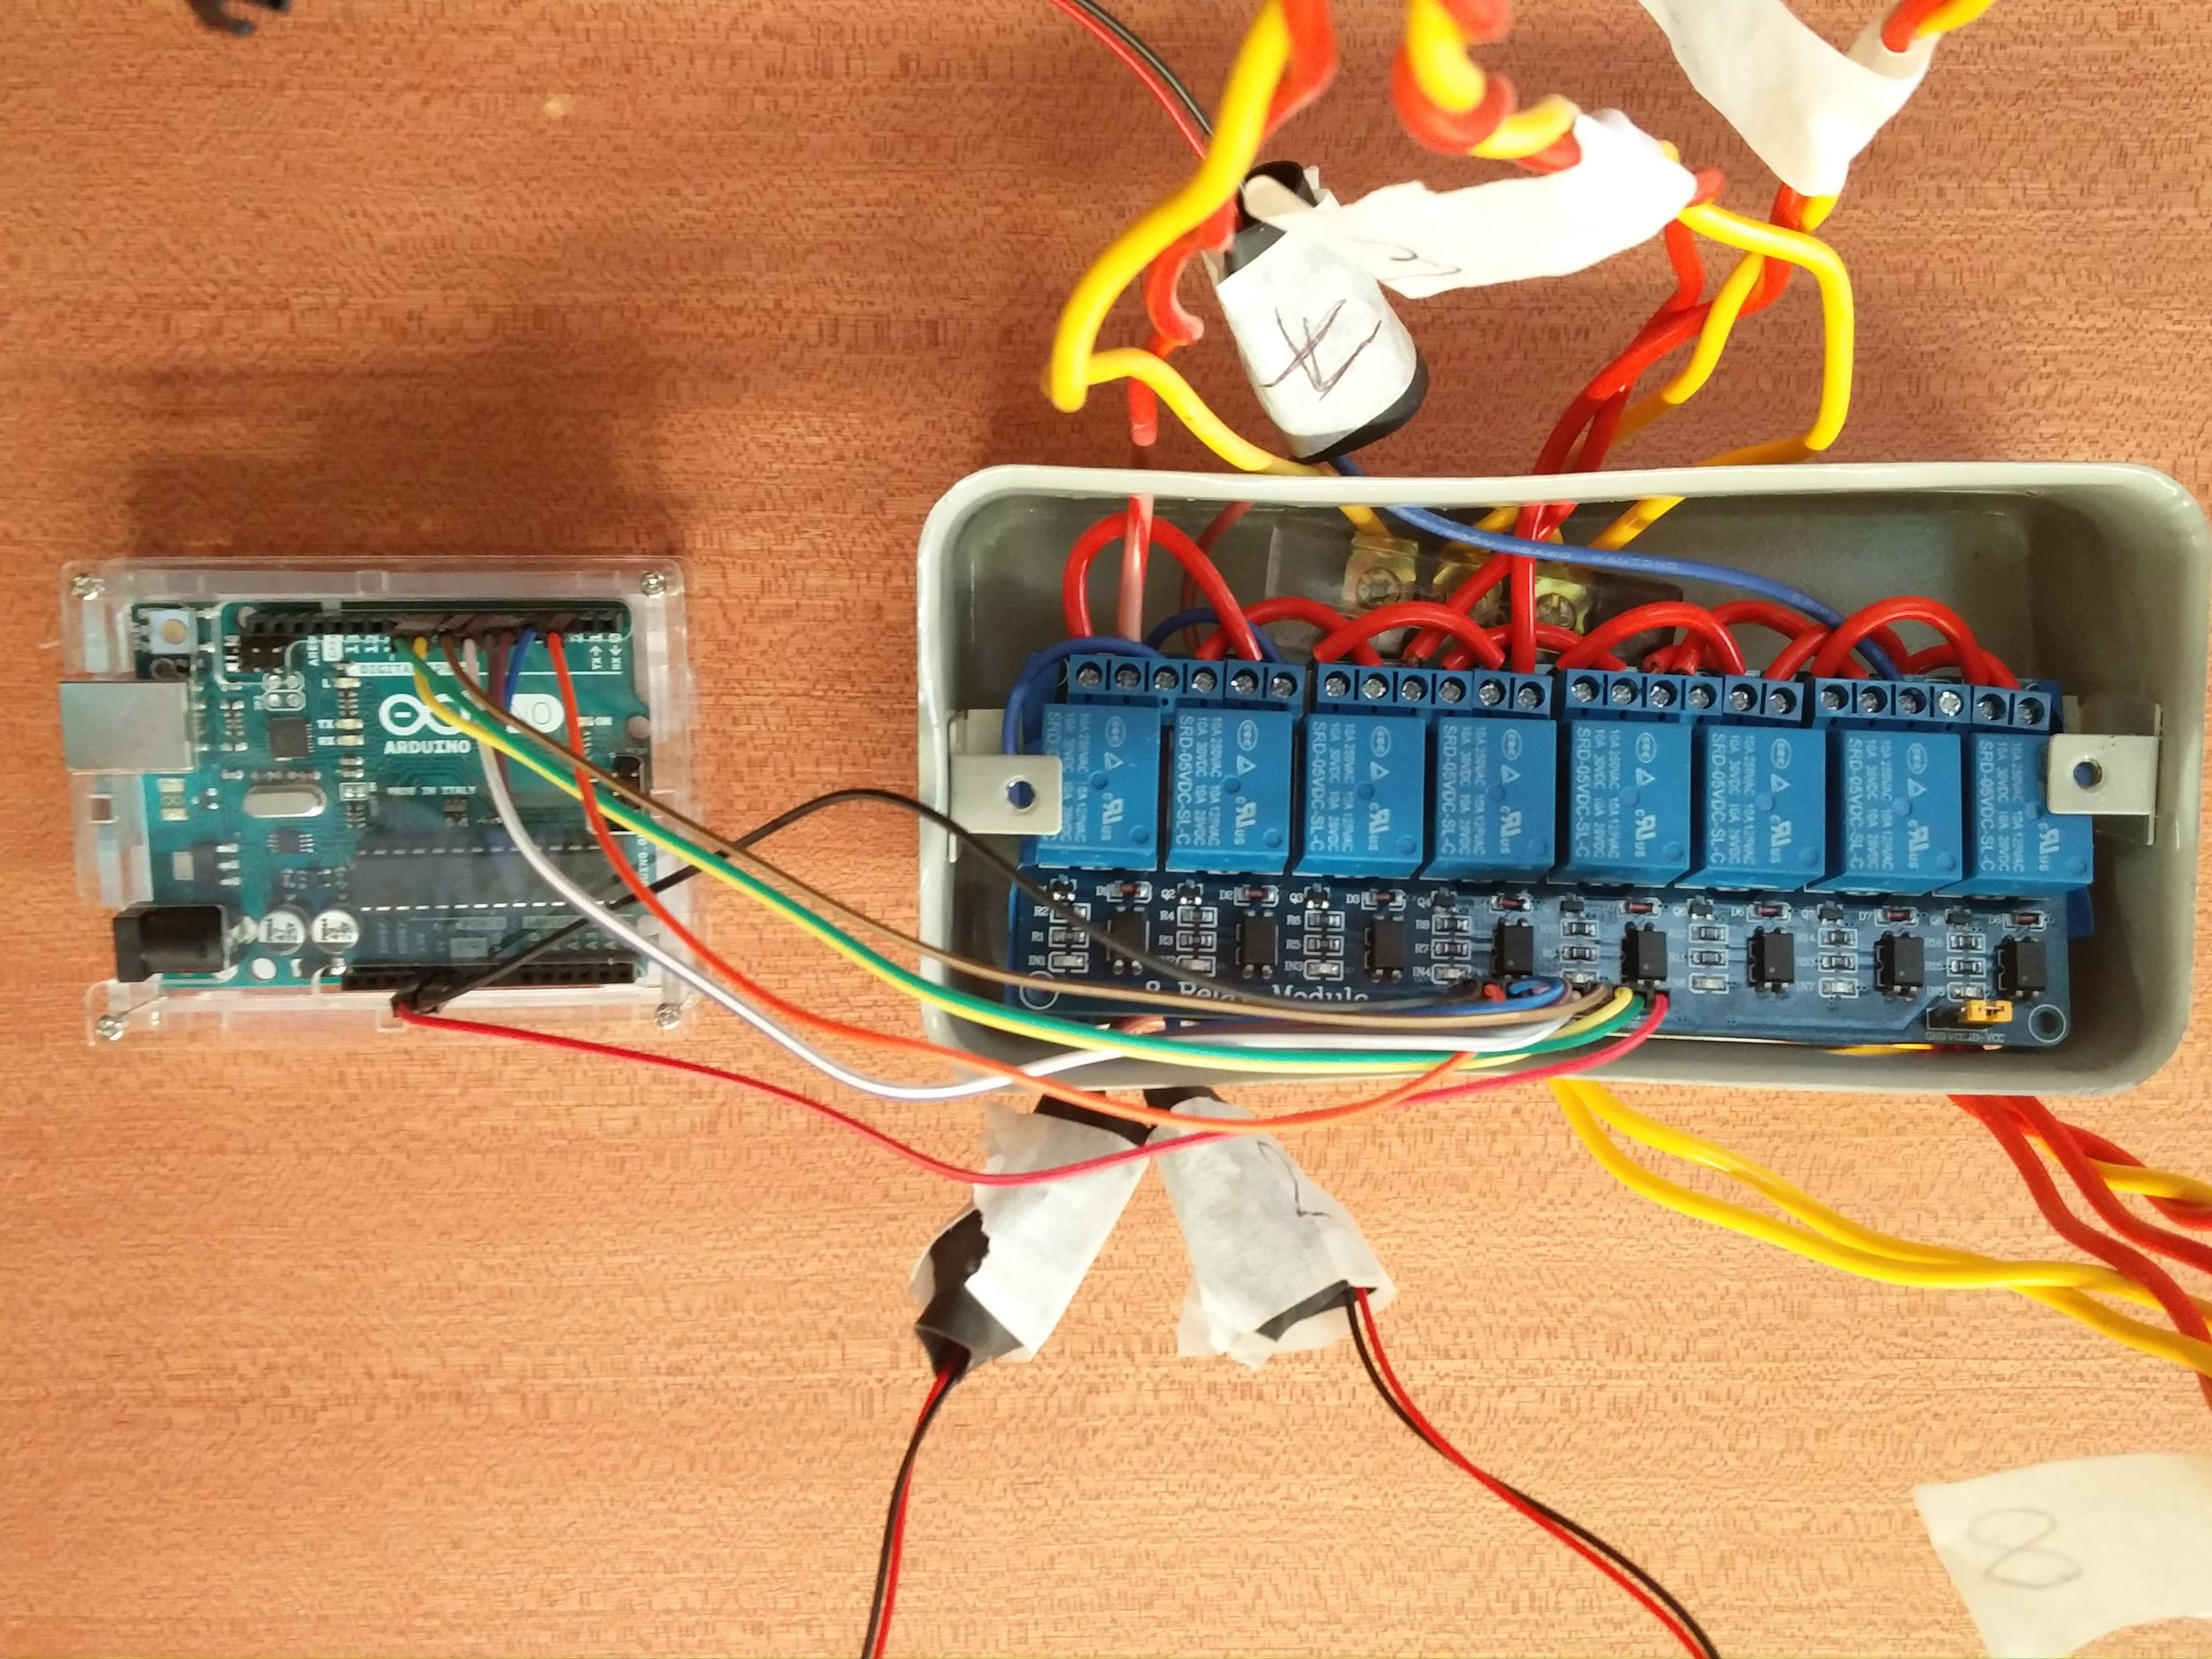

The Arduino control code is very simple: a repeating cycle of two loops (one slow, and then one fast), activating the relays one at a time.
Total budget (in USD equivalent):
- Arduino UNO development board, $20
- 9V 1A power supply, $5
- JBtek 8 Channel DC 5V Relay Module, $5
- 8 3W LED lights, $2 each ($16)
- Arduino wiring, $2
- Other wiring and case (scrap), $0
Total: $48; not bad!
Building a giant interactive map for $300
When it came to showing visitors the scale of environmental degradation in their country, we had a very clear idea: we wanted a giant, high-resolution, interactive map displaying a number of critical sites across China, with a description of the problem for each site. Our goal was to allow visitors to interactively explore some of the biggest environmental challenges China is facing, and reflect/discuss based on this exploration.
Of course, the best way of showing such an interactive map is on a screen, or projected image. But the cost of a 3-4m² screen was absolutely prohibitive, and there wasn't enough throw distance in the room to set up a projector (which would have been too low-res anyway). Instead, we opted to get a high-resolution topographic map printed on glossy paper, build a casing for the map, and embed a small computer and 27" screen inside the casing. With carefully calibrated brightness and color settings, it looks to visitors as if the screen were part of the map.
The map features 20 numbered stickers corresponding to crucial environmental challenges, and the associated description and pictures can be accessed by using a selection wheel on the screen. Inside the casing, a small computer (Intel NUC) is running a browser in full-screen mode, displaying an HTML document containing static and animated elements: the JavaScript selection wheel and pop-up description box, with images and text in Mandarin and English. After two minutes of inactivity, most elements disappear from the screen, and the next visitor sees only a large map and a selection interface, inviting interaction with the map. The image and short clip below demonstrate the map interactivity, and give an idea of its scale (2m by 1.70m).
The list and description of the challenges can be easily updated or edited by moving the stickers on the map, and editing the description in the corresponding asset file. The full project code is available on GitHub.
Total budget (in USD equivalent):
- Intel NUC mini-computer, $110
- 27" screen, $100
- Printed 3.5m² map, $60
- Aluminium casing assembled on-site from scrap parts, $30
Total: around $300
Doing much, with little
By thinking outside the box, tinkering a little, and using off-the-shelf parts, we were able to reach a high level of immersion and interactivity on a very small budget, achieving effects typically found in much larger exhibitions. Lesson learned: you do not need to spend big to build big!